Search for more topics

How can I charge via the IONITY mobile app: step-by-step
{{alert-red}}
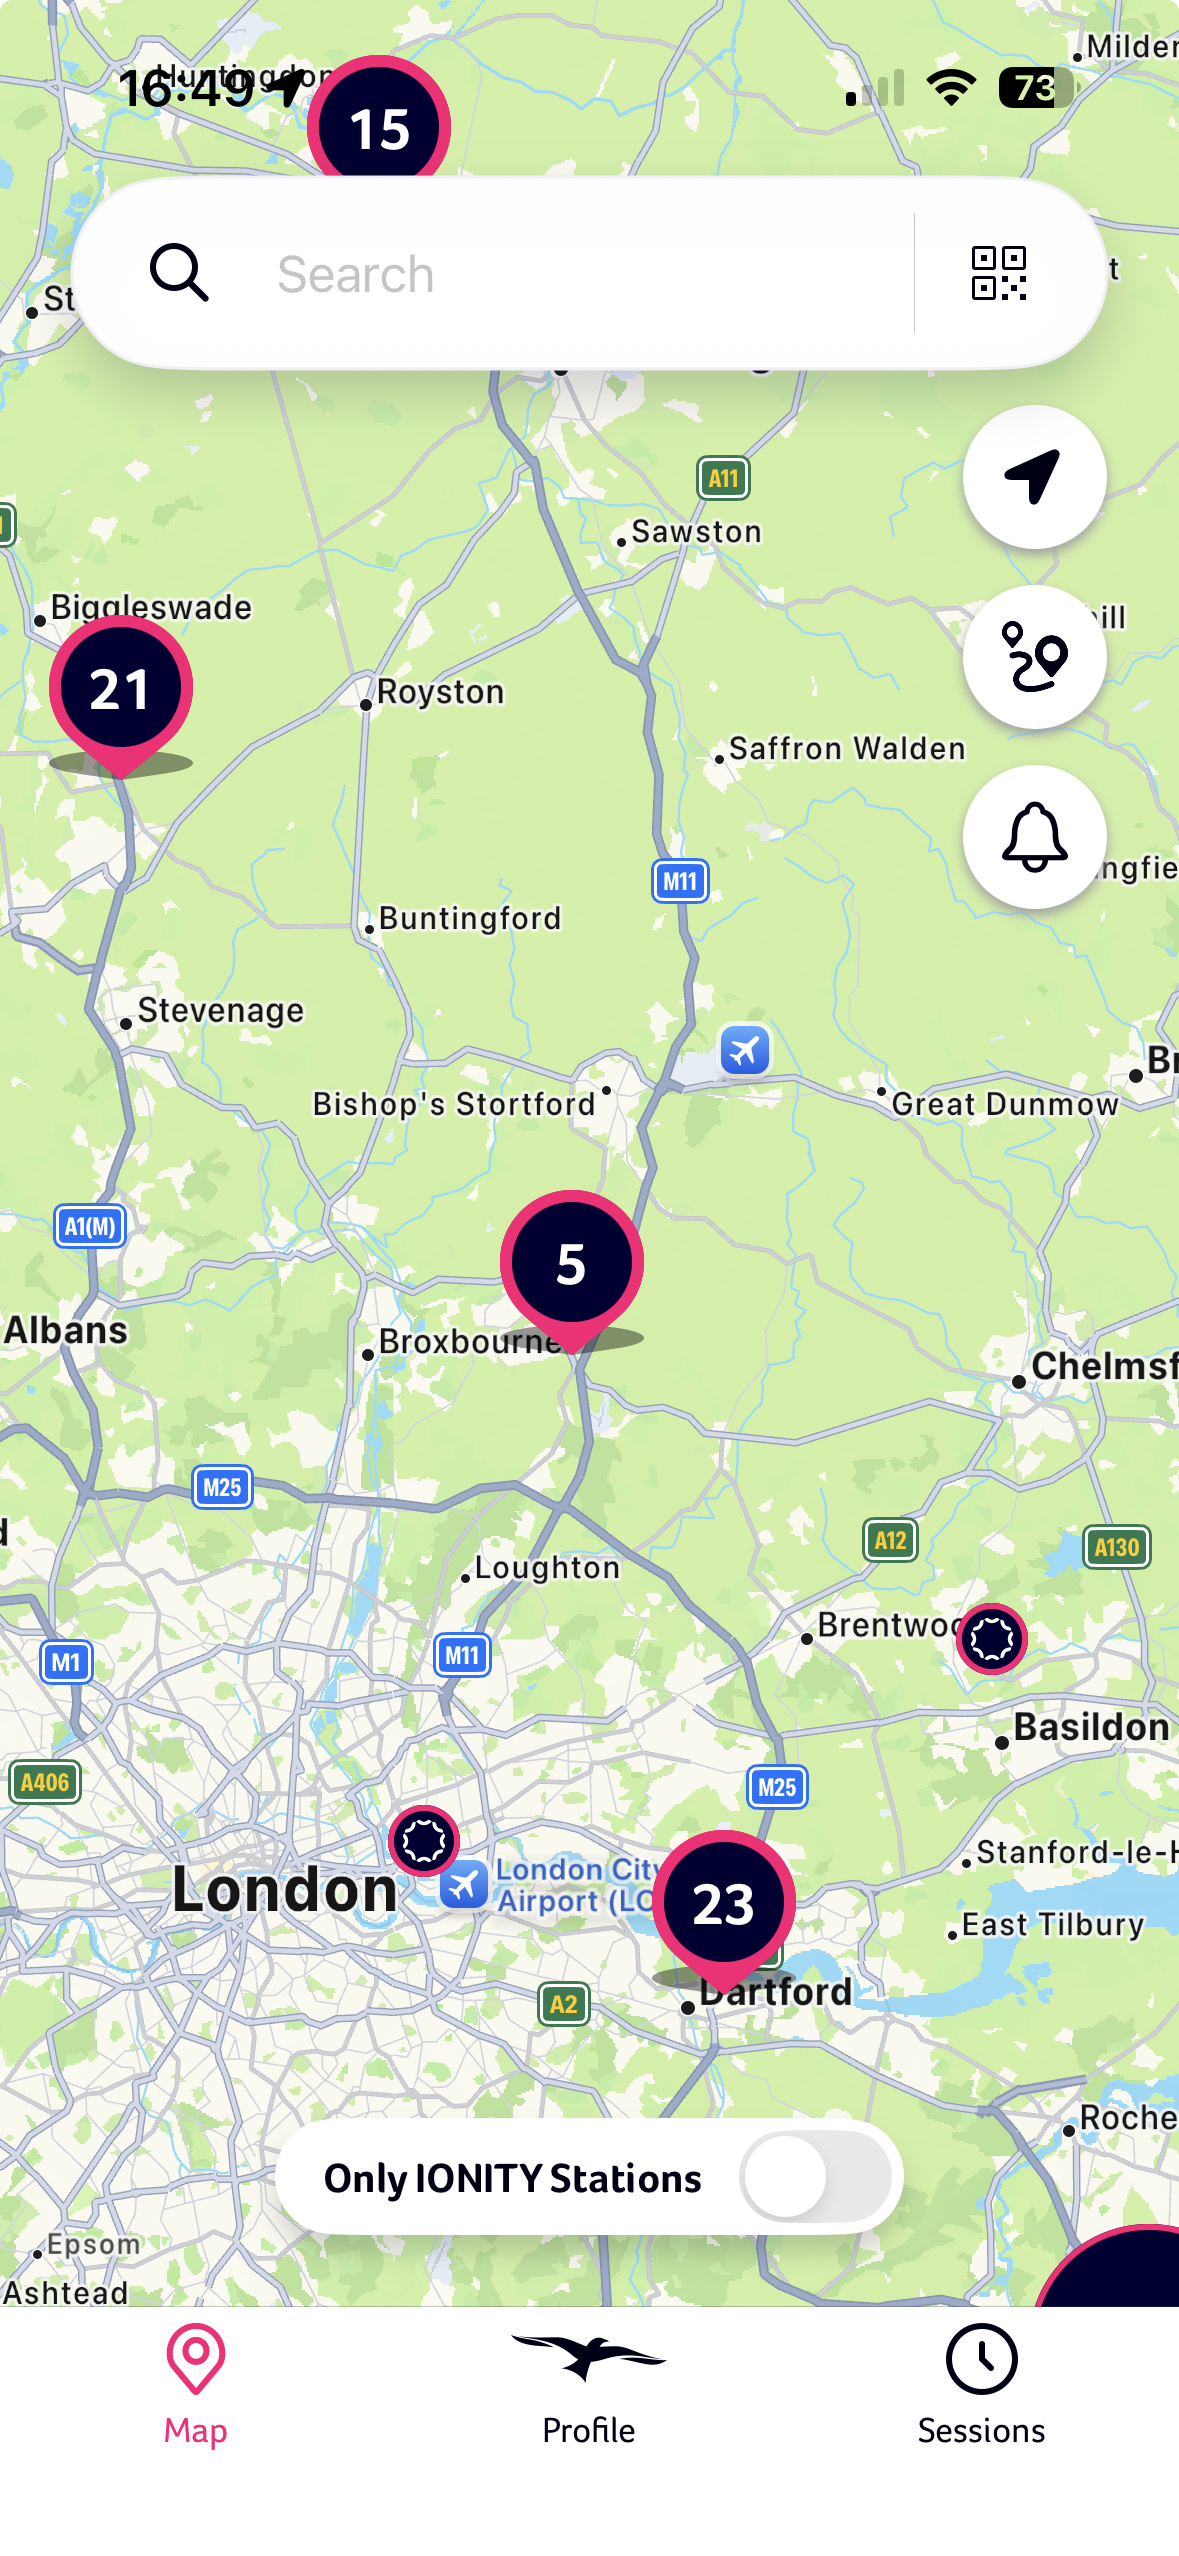
1. Open the IONITY app on your mobile phone and select the charging station from the map, where you are standing. If you allowed the app to use your location, the correct charging station will show up, indicated by a symbol (circle with the number of available chargers). You can also use the QR code reader by clicking on the symbol in the right top corner of the search bar. You will find the QR code on each of our chargers, close to the display. Simply scan the QR code on the charger and the corresponding charger will be loaded. You can skip the next two steps below and go to step 4 directly. Alternatively, you can search for a station by entering the location in the search field and select the correct station from the map.
2. QR code: select charger and, if required, confirm by pressing “Continue” if you are ready to charge.
3. Manual selection of charger in the app: select the charger in the app, at which your car is parked. Please make sure the number displayed on the charger (near the display) and in the app match. For example: you park at charger 3 -> select charger 3 in the app. Occasionally the charger can show as occupied in the app despite available and free to use. It is caused by a slight delay in the status update between the charger and the app. In such case, you can still choose the said charger regardless and proceed with the process.
4. If you want to proceed with the charging session, press “Continue”. Here you will also see the price. Please continue by confirming "Order and Pay".
5. Select one of your saved payment methods or enter a new payment method. If you have Google Pay or Apple Pay enabled on your phone, you can use these payment methods as well.
6. Confirm pre-authorisation (40 EUR, 40 GBP or similar in other currencies).
7. Connect the charger with your car. Make sure the plug sits firmly and wait for message in the app: “Charger Connected”.
8. Stop charge: swipe right at the bottom of your phone’s screen to stop. Wait for message: Your receipt. Alternatively, you can also stop the charge on the charger’s display or via your car.
9. A receipt will be sent to your registered email address on the following working day and you can look at old charging sessions in the app, under “Sessions”. You can also download the invoice, once available, from the "Sessions" page in the app. Just click on the arrow to download the invoice pdf.